Echo-Matic Deluxe (Part 1): Marantz-based DIY Tape Echo
Back in 2019, I saw the influential space-rock group Wand live. It was an amazing set of mostly new tunes, but I was a tad distracted by their lead guitarist. He was fiddling with a battered green box for the whole set, and doing so sent his guitar part soaring over the rest of the band in the most atmospheric, gooey wash imaginable. This was my first introduction to the weird, wonderful world of tape echo, and I wanted one!
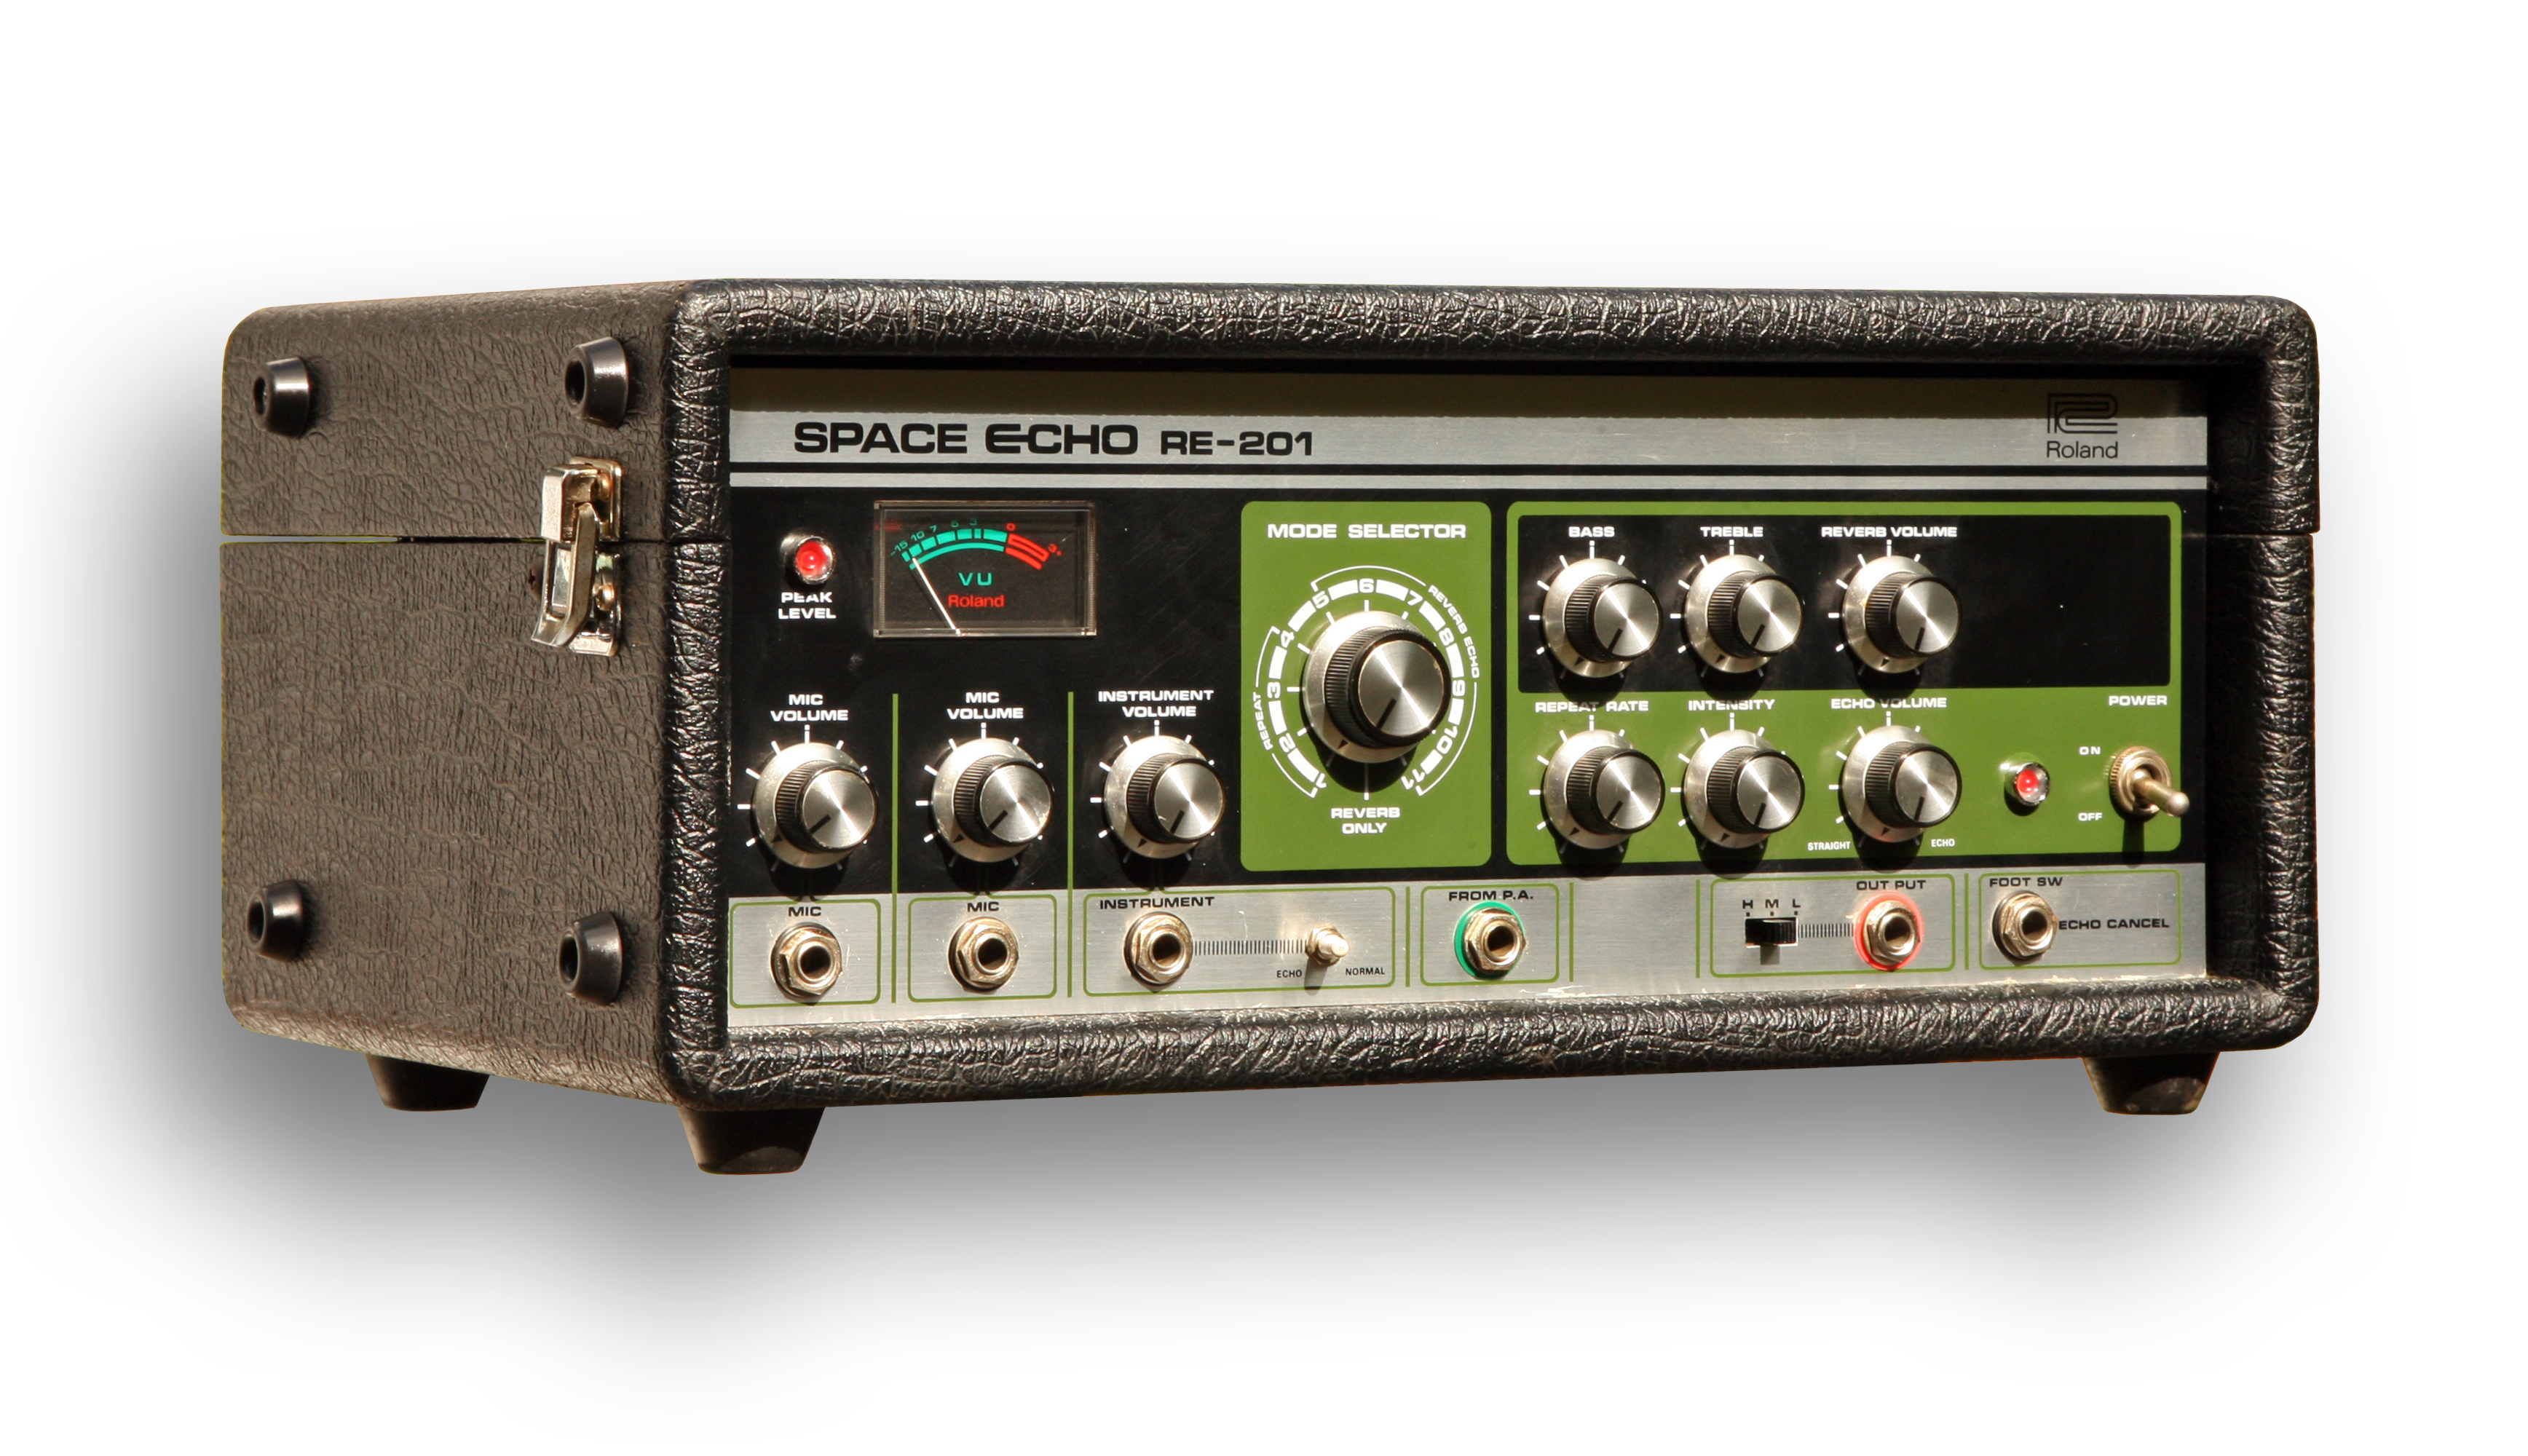
Sadly, vintage tape echoes (such as the Roland RE201 Cory was using that night) go for thousands on the used market, and are notoriously finnicky to maintain. Cheaper digital emulations unsurprisingly fail to capture the warm, fuzzy magic of these complex analog devices. But one day I stumbled on a youtube video demonstrating a DIY tape echo built from nothing more than a few analog components and a tape deck, and I knew I had to make one!
The Theory
Conceptually, tape echo is pretty simple. Consider a tape deck with 3 heads: a record head, a monitor head, and an erase head. When recording on a 3-head deck, the signal that’s just been recorded to the tape by the record head is captured and sent out via the playback head. But when you send this monitor output signal directly back into the line-in jack, a feedback loop is created, and your original sound is repeated. From there, all you need are controls!
- Varying the speed of the tape deck motor changes the speed of the tape, which in turn controls the delay time.
- Adding a resistance in the feedback loop controls the amount of signal fed back into the unit, which in turn varies the number of delay repeats.
- Add a potentiometer to control the wet/dry mix and a volume output knob, and you have a tape delay!
The Circuit
The circuit I’m utilizing is a modified version of Proto-Schlock’s, who in turn got it from Boscorelli’s the StompBox Cookbook.
- My most notable modification is the addition of a reverb module from BYOC, to simulate the orginal RE201 unit’s spring reverb. If you don’t want to do this, just connect
TO_RVandFROM_RVwith a jumper wire. - I also added a low-pass filter to the feedback loop, since high frequencies tend to make my unit self-oscillate. you should experiment with different filters and filter designs here!

the modified schematic
The Materials
Ebay is a wonderful place. One where you can get a late 70’s 3-head stereo tape recorder for $40 + shipping. These old Marantz 3-head decks still have a pretty devoted following, so this unit was an absolute steal! I already had a DIY spring reverb pedal from BYOC lying around, which would emulate the gooey reverb of the original unit without having to buy a separate reverb tank. The rest of the parts for this project were relatively easy to source at Small Bear, my go-to for quality guitar pedal components. I’ve included a BOM for the project in the Github Repo.
The Build
Prototyping
After acquiring all the parts, it was prototyping time!

not the cleanest, I’ll be the first to admit
Despite the circuit’s complexity, breadboarding wasn’t all that bad. I hooked it up to the tape deck and… it worked! In retrospect, I’m really glad I tested this on the breadboard first. Doing so let me experiment with a few different high-pass filter designs before I decided on the one in the schematic.
Motor Control
Next step: modifying the motor controller. Some tape units have this functionality built-in, but mine didn’t. to work around this, I coupled the motor to it’s power source via a PWM controller. It’s ideal to have this PWM frequency above the audio range (greater than 20 kHz).
or… at least it would. For some reason, my PWM controllers didn’t want to play nice with the tape deck’s motor. I ended up going the analog route of putting a potentiometer inline with the motor to control the motor speed. Every motor is different, but mine stalled at any resistance over 50 Ohms.

the finished board
Manufacturing
Finally, it was time to manufacture. If you want to make this project yourself, I’ve provided the Autodesk Eagle .brd files in the Github repo. Note that this is the first time I’ve designed a pcb, so it may not be perfect! I manufactured it with Aisler, and only paid $10 for 3 boards!
Part 1 Thoughts
It’s going to be a while before I get back on this project. Aisler takes about a month to manufacture, and junior year is starting up. Stay tuned for a part 2!